A well-constructed roof is a vital part of any home, and one key element in achieving this is the ridge cap. The ridge cap, typically made from architectural shingles, is the final touch on your roof that not only enhances its aesthetic appeal but also provides crucial protection against weather elements. Learning how to make a ridge cap with architectural shingles can be a rewarding DIY project. This article will guide you through the process.
Understanding Architectural Shingles
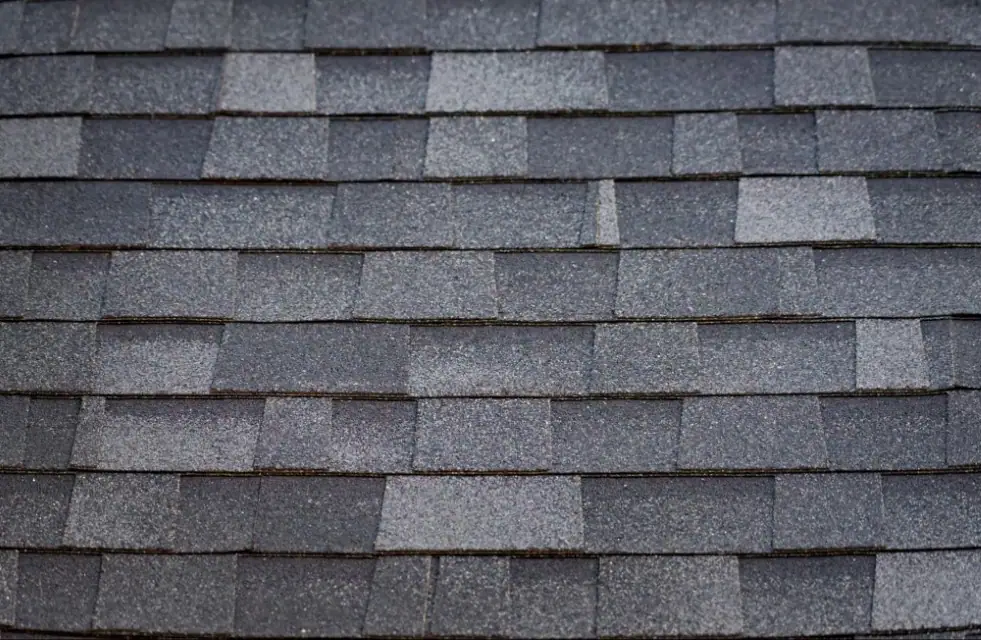
Architectural shingles, also known as dimensional or laminate shingles, are high-quality roofing materials. They are known for their durability, resistance to harsh weather conditions, and aesthetic appeal. These shingles have a multi-dimensional texture and appearance, which adds a layer of sophistication to your roof. When used for making ridge caps, they offer enhanced protection at the peak of your roof where two slopes meet.
Materials and Tools Needed
Before you start, gather all the necessary materials and tools. You will need architectural shingles, a utility knife, roofing nails, a hammer, and safety gear such as gloves and eye protection. It’s advisable to use the same brand and color of shingles for your ridge cap as your roof for a seamless look.
Creating the Ridge Cap
The first step in creating a ridge cap with architectural shingles is to measure and cut the shingles. Each shingle should be cut into three equal parts using a utility knife. Each piece will serve as an individual ridge cap shingle.
Installing the Ridge Cap
After cutting the shingles, begin the installation process at one end of the ridge. Place the first shingle so that it hangs evenly over each side of the ridge and nail it down securely. Repeat this process, overlapping the shingles until you reach the other end of the ridge. Remember to always work from one end to the other for a uniform look.
Sealing the Ridge Cap
The final step is to seal the ridge cap. Apply a bead of roofing cement under each ridge cap shingle and press down firmly. This ensures a secure fit and prevents wind uplift.
FAQ’s
Why do we need a ridge cap?
A ridge cap is essential as it provides a barrier against rain, snow, and wind at the highest point of your roof where two slopes meet.
Can I use 3-tab shingles for my ridge cap?
Yes, you can. However, architectural shingles are preferred due to their durability and aesthetic appeal.
What is the lifespan of architectural shingles?
Architectural shingles typically last between 25-30 years, depending on weather conditions and maintenance.
How many nails should I use per ridge cap shingle?
Typically, two nails are used per ridge cap shingle. They should be placed about an inch from each side edge.
Can I install a ridge cap on my own?
Yes, with proper knowledge and precautions, a homeowner can install a ridge cap. However, if you’re not comfortable, it’s best to hire a professional.
In crafting a ridge cap with architectural shingles, one combines functionality and beauty. The process requires careful planning and execution, but the outcome is a durable, weather-resistant, and aesthetically pleasing roof peak. Whether you’re a DIY enthusiast or a homeowner looking to understand more about your home’s construction, knowing how to make a ridge cap with architectural shingles is a valuable skill.