Are you tired of manually wrestling with your garage door every time you come home from work or a long trip? If so, it’s high time you considered installing a garage door keypad. This handy device will not only save you time and energy but also enhance the security of your abode. In this comprehensive guide, we’ll walk you through the process of installing a garage door keypad in easy-to-understand steps.
Introduction
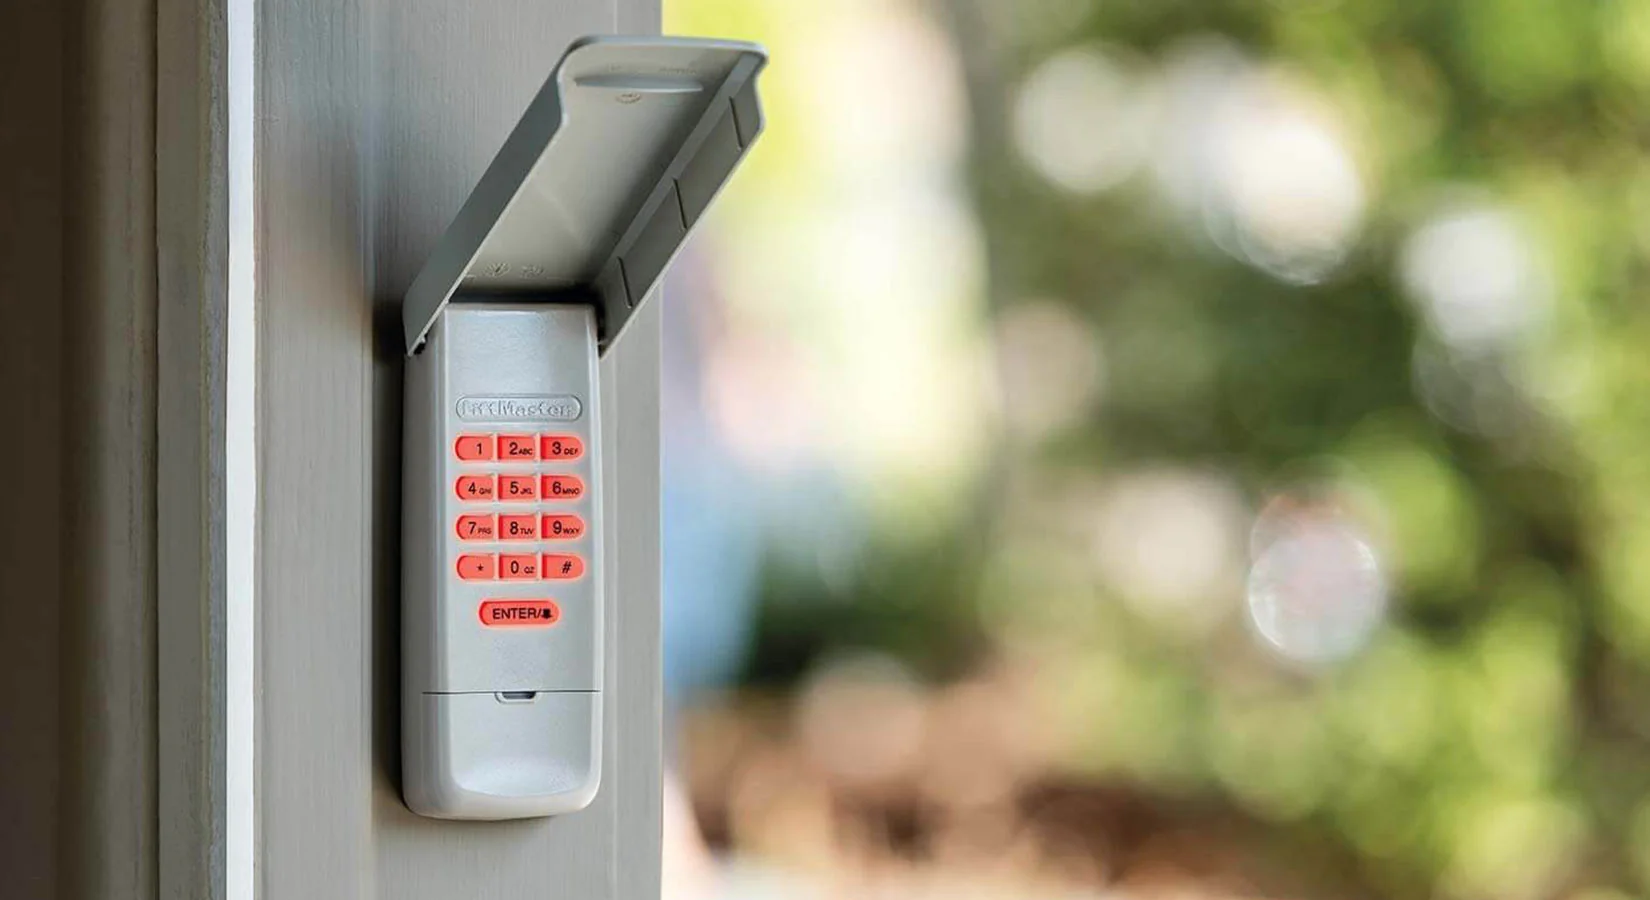
What is a Garage Door Keypad?
A garage door keypad is an electronic device that allows you to open and close your garage door using a unique code. Unlike traditional keys or remote controls that can be easily lost or stolen, a keypad requires a pin number for access. This feature makes it an excellent option for enhancing the security of your home. What’s more, some advanced models can even be controlled remotely using smartphone apps, adding another layer of convenience to your life.
Benefits of Installing a Garage Door Keypad
One of the most significant benefits of installing a garage door keypad is the added security it provides. You no longer have to worry about losing your keys or someone stealing them. The keypad only allows entry to those who know the correct code. In addition, it offers a great deal of convenience. For instance, if you or your family members forget to bring house keys, the garage door keypad serves as a reliable alternative for access. Some keypads even have backlit buttons, making them easy to use at night or in low light conditions. Lastly, modern garage door keypads feature sleek designs that can enhance the aesthetic appeal of your home.
Preparing for Installation
Gathering the Necessary Tools and Materials
Before embarking on the installation process, it’s essential to gather all the necessary tools and materials. For most garage door keypads, you’ll need a screwdriver (both flat-head and Phillips), a drill with various bit sizes, a level, a measuring tape, and mounting screws. Of course, you’ll also need your new garage door keypad and its manual. It’s advisable to read through the manual before beginning the installation process to familiarize yourself with the device and the steps you’ll need to follow.
Familiarizing Yourself with the Garage Door Opener System
Understanding your garage door opener system is crucial to the successful installation of your new keypad. The garage door opener system consists of several components, including the motor unit, the remote control, and the wall switch. The motor unit, which houses the motor that moves the door, is typically located in the center of the garage ceiling. The remote control is a handheld device used to open and close the garage door from a distance. Lastly, the wall switch, usually located near the garage entrance, controls the door from inside the garage. Knowing the workings of these components will make your keypad installation process smoother.
Installing the Garage Door Keypad
Locating the Ideal Placement for the Keypad
The first step in installing your new keypad is to determine the best location for it. Ideally, it should be placed at a height that is easily accessible for all members of your household, usually about four feet from the ground. It should also be installed on a flat surface next to the garage door, within the range of the garage door opener’s receiver. Use a level to ensure the keypad is straight, and mark the screw holes with a pencil.
Wiring the Keypad to the Garage Door Opener System
After you’ve chosen the perfect location for your keypad, the next step is to wire it to the garage door opener system. This can be a bit complex, so it’s essential to carefully read and follow the manufacturer’s instructions. Typically, this process involves connecting the wires from the keypad to the corresponding terminals on the motor unit. Make sure to securely tighten the terminal screws to ensure good contact.
Mounting the Keypad on the Wall
Once the wiring is complete, it’s time to mount the keypad. Using the pencil marks you made earlier as a guide, drill pilot holes into the wall. Then, insert the mounting screws through the holes in the keypad and into the wall. Make sure the keypad is securely attached to the wall, but avoid overtightening the screws as this could damage the device or the wall.
Programming the Garage Door Keypad
Accessing the Programming Menu on the Garage Door Opener
Now that your keypad is installed and wired, it’s time to program it. Start by accessing the programming menu on your garage door opener. This usually involves pressing a specific combination of buttons on the remote control or the motor unit. Refer to your garage door opener’s manual for the exact steps.
Entering the Keypad’s PIN Code
Once you’re in the programming mode, you’ll need to enter a unique pin code into the keypad. This is the code you’ll use to open and close your garage door. Make sure to choose a code that’s easy for you to remember but difficult for others to guess. After entering the pin, press the “Enter” or “Program” button on the keypad to save it.
Testing the Keypad to Ensure Proper Functionality
The final step in the installation process is testing the keypad. Try opening and closing the garage door using the newly set pin code. If the door operates correctly, congratulations! You’ve successfully installed and programmed your garage door keypad. If the door doesn’t respond, double-check your wiring connections and make sure you’ve followed all the programming steps correctly.
Troubleshooting Common Issues
Keypad Not Responding
If your keypad is not responding, it might be due to a problem with the power source. Check if the batteries need replacing or if the wired connection to the motor unit is secure. Sometimes, resetting the keypad or reprogramming the pin code can also solve the problem.
Keypad Buttons Malfunctioning
If some of the buttons on your keypad are not working, it might be due to dirt or grime buildup. Regularly clean the keypad with a soft, damp cloth to prevent this issue. If the problem persists, you may need to replace the keypad.
Keypad Code Not Working
If your pin code is not working, ensure youhave entered it correctly and that you followed the programming steps accurately. If the code still doesn’t work, try resetting the keypad and reprogramming it from scratch.
Maintaining and Extending the Lifespan of the Garage Door Keypad
Regular Cleaning and Inspection
To ensure the longevity of your garage door keypad, it’s essential to clean it regularly and inspect it for any signs of damage. Use a soft, damp cloth to wipe away dust and dirt from the buttons and the keypad surface. Avoid using harsh chemicals or abrasive materials that could scratch or damage the device.
Replacing Batteries
If your garage door keypad operates on batteries, make sure to replace them as needed. Most keypads have a low battery indicator that alerts you when it’s time for a battery change. Always use high-quality batteries to ensure optimal performance.
Upgrading to Advanced Keypad Features
If you’re looking to enhance the functionality of your garage door keypad, consider upgrading to a model with advanced features. Some keypads offer additional security measures, such as rolling code technology that generates a new code each time the keypad is used. Others have built-in Wi-Fi capabilities, allowing you to control your garage door remotely through a smartphone app. Explore the options available and choose a keypad that best suits your needs.
Conclusion
Final Thoughts on Installing a Garage Door Keypad
Installing a garage door keypad is a practical and convenient way to improve the security and accessibility of your home. By following the step-by-step guide outlined in this article, you’ll be able to install and program your new keypad with ease. Remember to gather the necessary tools, familiarize yourself with the garage door opener system, and choose an ideal location for the keypad. Once installed, takethe time to familiarize yourself with the keypad’s features and programming options. Regularly clean and inspect the keypad to ensure its longevity and replace batteries as needed. Consider upgrading to a keypad with advanced features for added convenience and security. With these tips, you’ll be able to troubleshoot common issues and enjoy the benefits of a garage door keypad for years to come.