Imagine walking into a room and being greeted by colorful, arresting wall art that tells a story. Now imagine the satisfaction of knowing you created that art yourself. This guide will help you do just that. ‘Do It Yourself’ or DIY wall art is an exciting venture that allows you to unleash your creativity while adding personality to your living space.
Introduction
What is DIY Wall Art?
DIY Wall Art is a creative process where you make your own wall decor using various materials and techniques. It’s much more than painting on canvas. It can involve collage, stenciling, or even crafting three-dimensional objects. The only limit is your imagination.
Benefits of DIY Wall Art
Creating your own wall art is not only cost-effective but also a way to express your personal style. It offers a sense of accomplishment and can be a therapeutic exercise. Plus, it’s a fantastic conversation starter when you have guests over!
Choosing the Right Materials
Types of Materials for DIY Wall Art
The choice of materials depends on your design idea. You could use canvas, wood, metal, or even fabric as a base. Acrylic paints, watercolors, chalks, markers, or colored pencils can be used for coloring. Decorative elements like sequins, ribbons, buttons, or dried flowers can add some flair.
Choosing the Right Canvas
Canvases come in various sizes and materials. A stretched cotton canvas is ideal for beginners. If you want a rustic look, consider a wooden panel. For a modern twist, try a metal sheet.
Selecting Paints and Brushes
Acrylic paints are popular due to their versatility and ease of use. Watercolors also create beautiful effects. Brush selection is equally important. Flat brushes are good for broad strokes, while round ones are perfect for detailing.
Finding Decorative Elements
Decorative elements can range from store-bought stickers and washi tapes to homemade paper cut-outs. Natural materials like leaves, stones, or shells can also be incorporated.
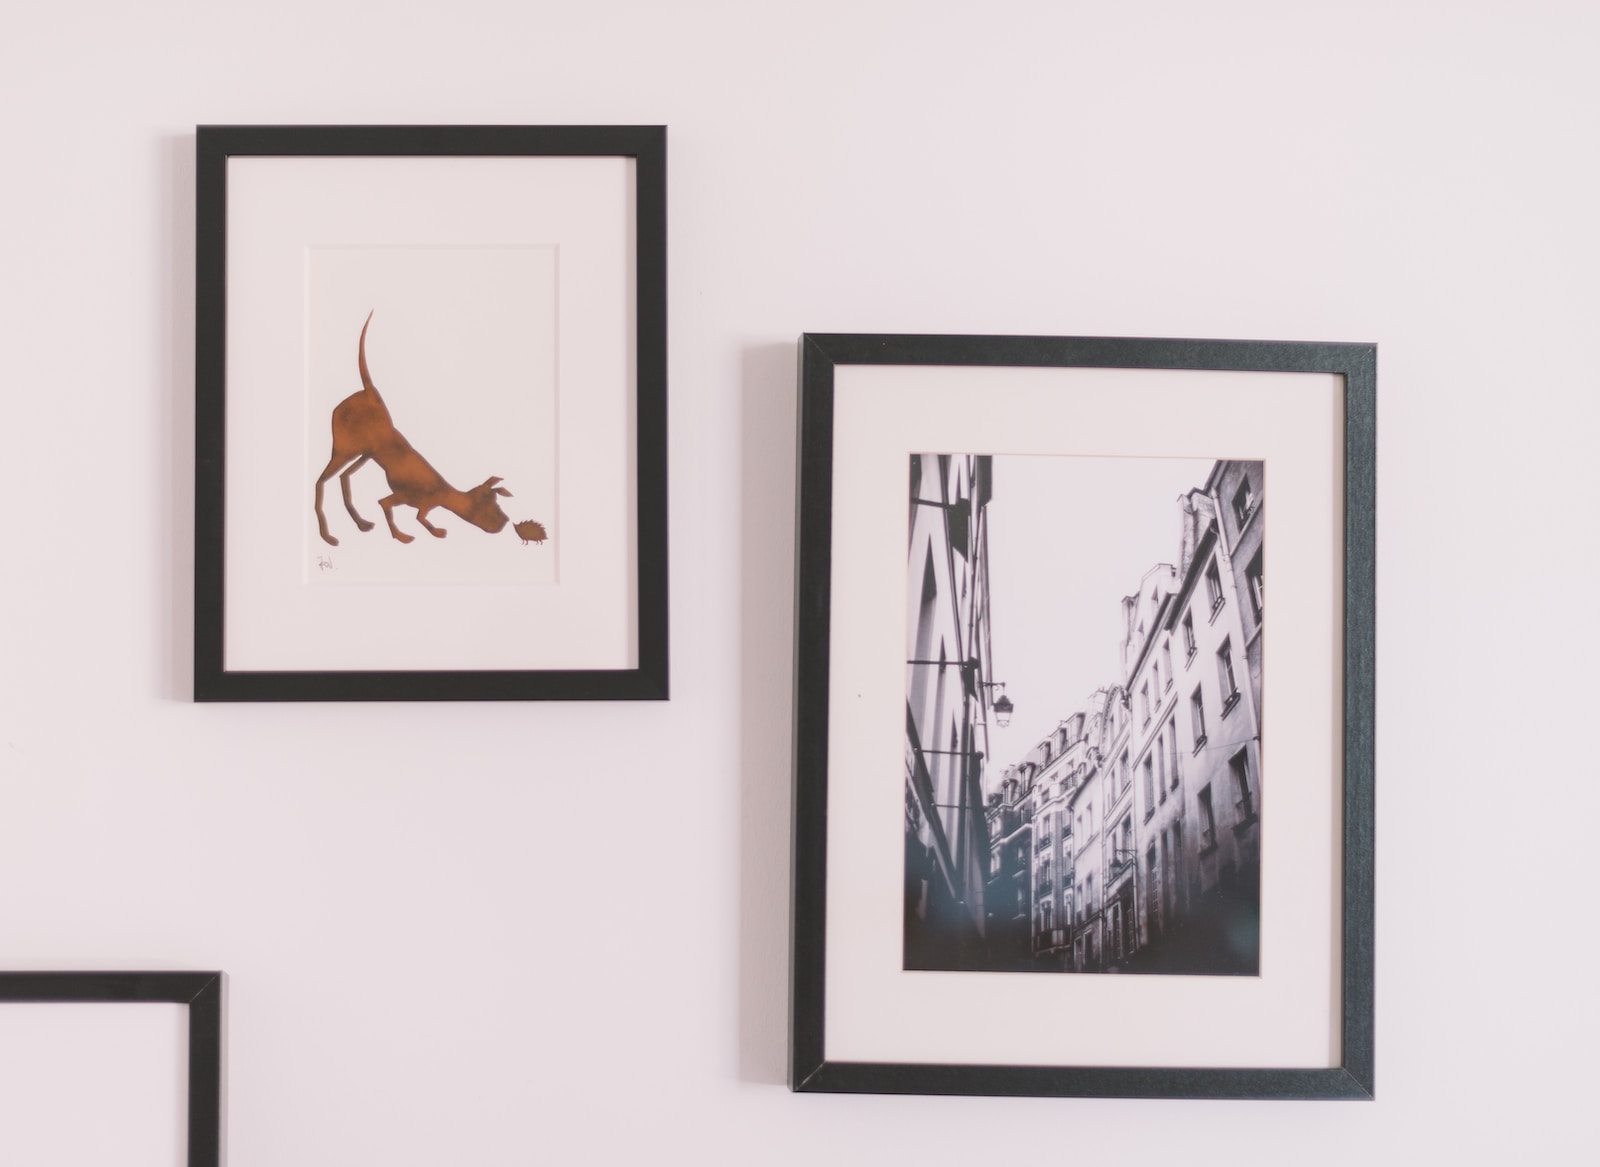
Considering Framing Options
A frame can enhance your artwork and help protect it. Choose a frame that complements your art and fits well with your room’s decor.
Planning Your Design
Finding Inspiration
Inspiration can come from anywhere – nature, a favorite quote, a memorable vacation, or even a dream. Browse art galleries, Pinterest, or Instagram for ideas.
Sketching Your Design
Before starting, sketch your design on paper. This will give you a clear roadmap and help prevent mistakes.
Selecting Colors and Patterns
Choose colors that resonate with you. Consider the mood you want to evoke – warm colors for energy, cool colors for calmness. Patterns can add depth and interest to your wall art.
Creating Your DIY Wall Art
Painting Techniques
Color Blocking
Color blocking involves painting large areas of your canvas in different colors. It creates a bold, modern look.
Splatter Painting
This technique involves flicking or splattering paint onto your canvas. It’s messy but fun, and results in a lively, abstract piece.
Ombre Effect
The ombre effect involves blending different shades of the same color from light to dark. It’s a great way to add depth and dimension.
Stencil Art
Stencil art is easy and precise. You can create repeated patterns or detailed images without needing advanced drawing skills.
Textured Painting
By adding materials like sand or small stones to your paint, you can create a textured effect that adds a tactile element to your art.
Adding Decorative Elements
Washi Tape Design
Washi tape is a type of decorative tape that comes in various colors and patterns. It’s an easy way to add clean lines and designs to your art.
Fabric and Paper Collage
Collage is a great way to incorporate different textures into your art. You can use scraps of fabric, old magazine pages, or colored papers to create a unique design.
Stenciling Designs
Stencils can be used not only for painting but also for adding designs with glitter or beads. The possibilities are endless!
Using Natural Materials
Natural materials like leaves, twigs, or dried flowers can add an organic touch to your art. They can be painted, glued, or even sewn onto your canvas.
Applying Finishing Touches
Sealing Your Artwork
A clear acrylic sealer will protect your artwork from dust and fading. It also adds a professional finish.
Adding a Protective Coat
A protective coat of varnish or wax can further enhance the longevity of your art. It also gives your piece a beautiful sheen.
Displaying Your DIY Wall Art
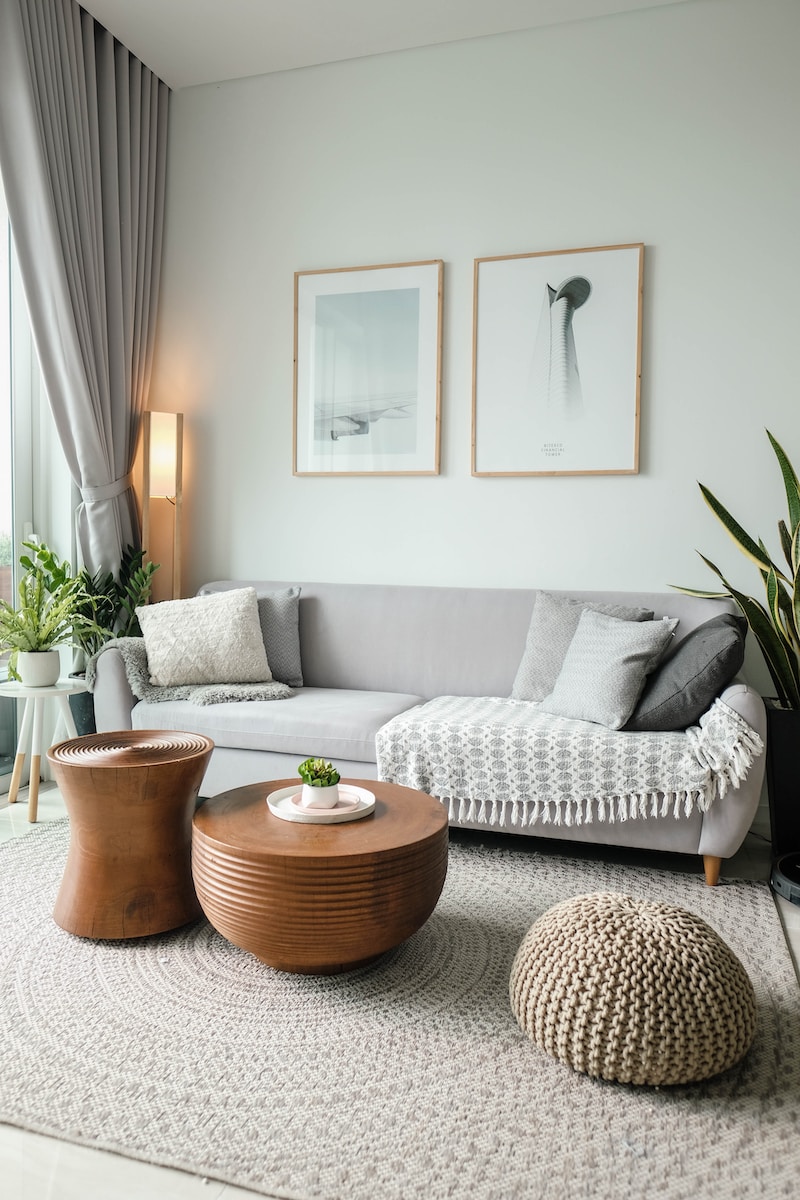
Choosing the Right Placement
Consider the room’s layout and the color palette before deciding where to hang your wall art. The right placement can enhance the overall aesthetic of your space.
Hanging Techniques and Tools
There are many ways to hang art – using nails, picture hangers, or even adhesive hooks for lighter pieces. A level tool will help ensure your art is hung straight.
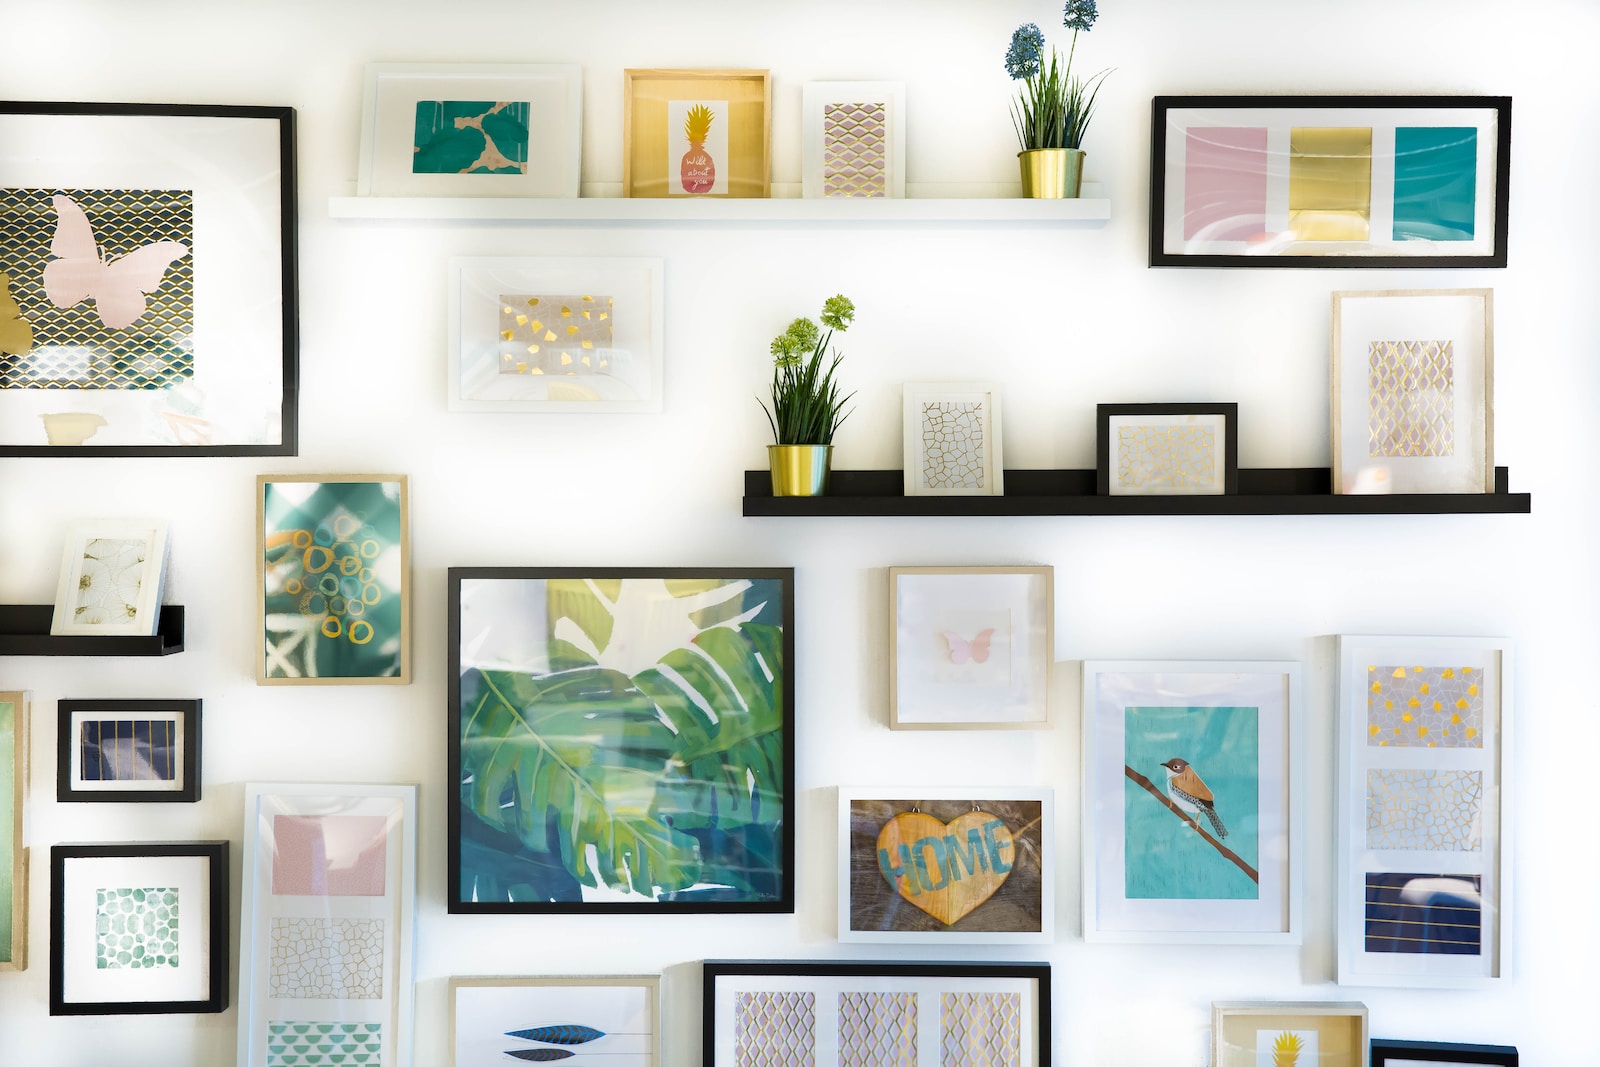
Creating a Gallery Wall
A gallery wall is a stylish way to display multiple pieces of art. Try to balance colors, sizes, and frames for a cohesive look.
Tips and Tricks for DIY Wall Art
Budget-Friendly Ideas
Creating DIY wall art doesn’t have to break the bank. Look for affordable materials like thrifted frames, cardboard, or even upcycle old paintings by painting over them.
Repurposing Materials
Think outside the box and repurpose items you already have. Old buttons can be glued to a canvas to create a textured effect, or scraps of fabric can be turned into a fabric collage.
Incorporating Personal Touches
Add a personal touch to your wall art by incorporating elements that have sentimental value. It could be a handwritten quote, a photograph, or even a small trinket that holds special meaning to you.